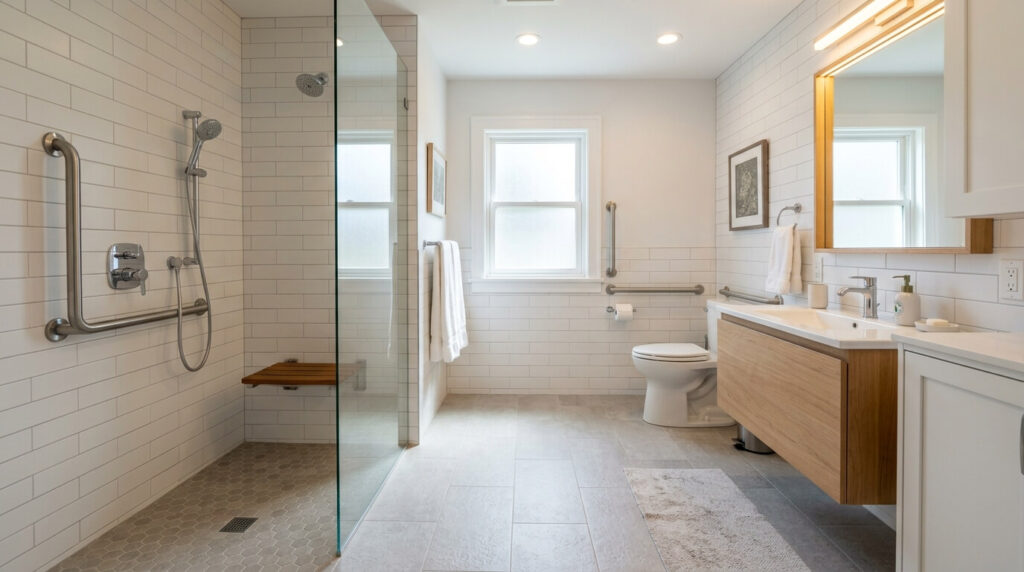
You don’t need a five-figure budget or a gutted-to-the-studs renovation to fall in love with your bathroom again. An affordable bathroom remodel is about choosing the right combination of cosmetic updates, smart materials, and strategic DIY work to get a high-end result without the high-end price tag. The average person spends roughly 30 minutes a day in the bathroom — that adds up to weeks of your life every year, so it’s worth making the space work for you.
This guide goes further than the typical “paint and new hardware” listicle. You’ll get real cost ranges, a step-by-step planning process, a DIY-vs-pro breakdown, material comparisons, safety and code considerations, maintenance tips, and answers to the questions homeowners actually search for before starting a budget bathroom renovation.
What Counts as an “Affordable” Bathroom Remodel?
An affordable bathroom remodel is a renovation that focuses on high-impact, lower-cost updates — paint, fixtures, lighting, flooring, and storage — instead of a full gut renovation that moves plumbing, knocks down walls, or relocates the toilet and shower. According to home-improvement industry data, a full bathroom remodel in the U.S. typically runs from $6,000 to $20,000+, while a budget-conscious cosmetic refresh can be done for $500 to $5,000, and a more substantial budget remodel (new vanity, tub/shower surface, flooring, and fixtures) lands in the $5,000 to $12,000 range.
The defining principle of an affordable remodel: keep the existing layout and plumbing locations. Moving a toilet, sink, or shower drain is one of the single biggest cost drivers in any renovation, often adding $1,500–$5,000 just for plumbing relocation. Work with what you have, and the savings cascade through every other line item.
How Much Does an Affordable Bathroom Remodel Cost?
Costs vary by region, bathroom size, and how much you DIY versus hire out. Here’s a realistic breakdown by remodel tier:
| Remodel Tier | Typical Cost Range | What’s Included |
|---|---|---|
| Cosmetic Refresh | $500 – $1,500 | Paint, new hardware, mirror, accessories, caulk refresh |
| Light Update | $1,500 – $5,000 | Above + new lighting, faucet, vanity makeover, peel-and-stick flooring or backsplash |
| Budget Full Remodel | $5,000 – $12,000 | Above + new vanity, tub/shower refinish or liner, real flooring, toilet, professional labor for plumbing/electrical |
| Mid-Range Remodel | $12,000 – $20,000 | New tub/shower install, tile work, custom vanity, full re-plumb of fixtures (same locations) |
Cost Factors That Move the Number Up or Down
- Bathroom size — a half bath costs far less to refresh than a full or primary bathroom.
- Labor market — urban areas and high-demand seasons (spring/summer) command higher contractor rates.
- Material choices — natural stone and custom cabinetry versus laminate, LVT, and stock vanities.
- Plumbing and electrical changes — keeping fixtures in place is the single biggest savings lever.
- DIY vs. professional labor — labor typically makes up 40–65% of a remodel’s total cost.
- Permit requirements — some municipalities require permits for electrical or plumbing work, adding fees and inspection time.
- Hidden issues — water damage, mold, or outdated wiring discovered during demo (this is why a contingency fund matters).
Cost Breakdown by Component
| Component | Budget-Friendly Cost | Notes |
|---|---|---|
| Paint (walls, ceiling, vanity) | $50 – $200 | Use moisture-resistant, mold-inhibiting paint |
| Hardware (pulls, knobs, towel bars) | $30 – $150 | Buy multi-packs for per-unit savings |
| Lighting fixture | $60 – $300 | DIY-installable if replacing a like-for-like fixture |
| Faucet | $50 – $250 | Widespread (8″) vs. centerset matters for compatibility |
| Mirror | $50 – $300 | Framed mirror kits are cheaper than full replacements |
| Vinyl/LVT flooring | $1.50 – $5/sq ft | Click-lock options are DIY-friendly |
| Peel-and-stick tile backsplash | $3 – $12/sq ft | No grout, no demolition |
| Vanity (stock, ready-to-assemble) | $150 – $800 | Big-box stores carry budget lines with stone-look tops |
| Tub/shower refinishing kit | $40 – $150 (DIY) / $300–$600 (pro) | Buys 5–10 years of life from an outdated tub |
| Bathtub liner or acrylic insert | $1,000 – $3,000 | Installed in as little as a day, no demo |
| New toilet | $150 – $500 | Look for WaterSense-certified low-flow models |
| Exhaust fan upgrade | $80 – $250 | Critical for moisture and mold control |
| Re-caulking | $10 – $20 (DIY) | Use 100% silicone, mold-resistant caulk |
DIY vs. Hiring a Professional: What to Tackle Yourself
One of the biggest mistakes in budget renovations is assuming DIY is always cheaper. It’s only cheaper when the job is genuinely within your skill level — a botched plumbing or electrical job can cost far more to fix than hiring it out correctly the first time.
| Task | DIY-Friendly? | Why |
|---|---|---|
| Painting walls, ceiling, vanity | Yes | Low risk, low cost of error |
| Replacing hardware/fixtures | Yes | Simple tools, reversible |
| Installing peel-and-stick tile or LVT flooring | Yes | Designed for non-professional installation |
| Re-caulking | Yes | Inexpensive tools, quick to redo if imperfect |
| Hanging shelves, mirrors, art | Yes | Just confirm wall studs for heavier items |
| Swapping a like-for-like light fixture | Often, with caution | Turn off the breaker; if wiring looks unfamiliar, call an electrician |
| Installing a new faucet (same connections) | Intermediate | Doable with basic plumbing tools and patience |
| Tiling a shower or tub surround | Hire a pro | Requires correct slope for drainage and waterproofing membrane to prevent mold and leaks |
| Moving plumbing lines | Hire a pro | Code-regulated, prone to costly leaks if done incorrectly |
| Any electrical work beyond fixture swaps | Hire a licensed electrician | Safety risk, often requires permits |
| Tub/shower reglazing for resale-quality finish | Consider a pro | DIY kits work but professional results last longer |
Rule of thumb: if a mistake could cause water damage, mold, or a safety hazard, hire a professional. If a mistake just means redoing a $20 project, DIY it.
How to Plan a Budget Bathroom Remodel: Step-by-Step
- Assess what genuinely needs updating. Walk through with a critical eye — does the tile need replacing, or just regrouting? Does the vanity need replacing, or just a paint job? Separate “must-fix” from “nice-to-have.”
- Set a budget with a contingency fund. Add 10–15% on top of your planned spend for surprises like water damage behind tile or outdated wiring.
- Decide where to splurge and where to save. Splurge on items used daily and hard to change later (faucets, showerheads, ventilation). Save on items that are easy to swap down the road (light fixtures, accessories, paint color).
- Get multiple quotes for any pro work. Even if you’re DIYing most of the project, get 2–3 quotes for plumbing or electrical tasks to benchmark pricing.
- Source materials strategically. Compare outlet stores, big-box retailers, online marketplaces, and even classifieds (overstock and returned vanities and cabinets are commonly resold at 40–60% off).
- Build a realistic timeline. A cosmetic refresh can be done in a weekend; a budget full remodel typically takes 1–3 weeks when professional trades are involved, factoring in material lead times.
- Order materials before demo day. Lead times on vanities, tile, and fixtures can stall a project for weeks if ordered late.
- Tackle work in logical order: demo → rough plumbing/electrical → paint ceiling and walls → flooring → vanity and fixtures → final caulk and touch-ups.
- Inspect and test everything before calling the project complete — check for leaks under the sink, proper drainage, secure caulk lines, and working ventilation.
20 Affordable Bathroom Remodel Ideas That Make a Big Impact
1. Paint Walls, Ceiling, and Vanity
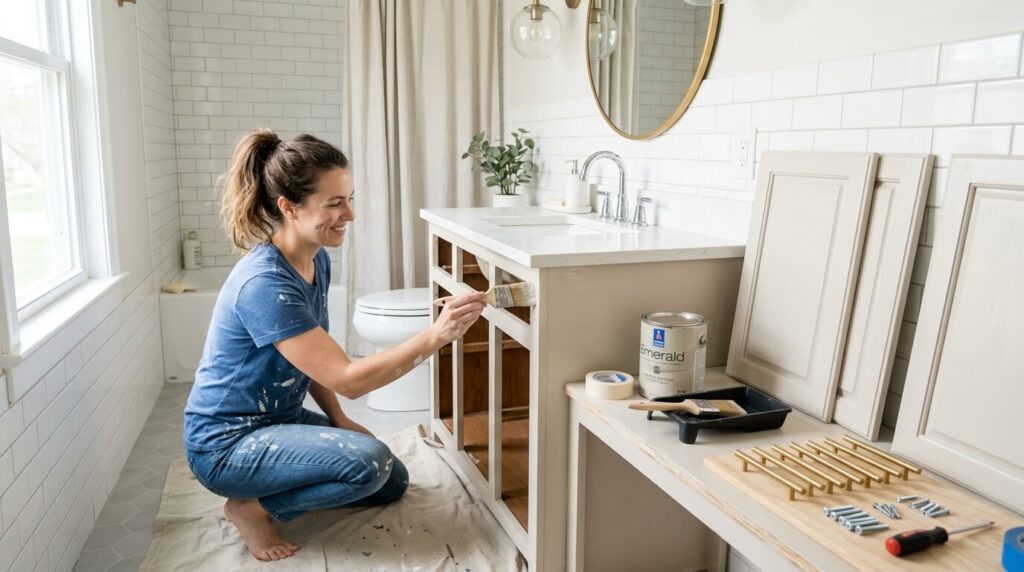
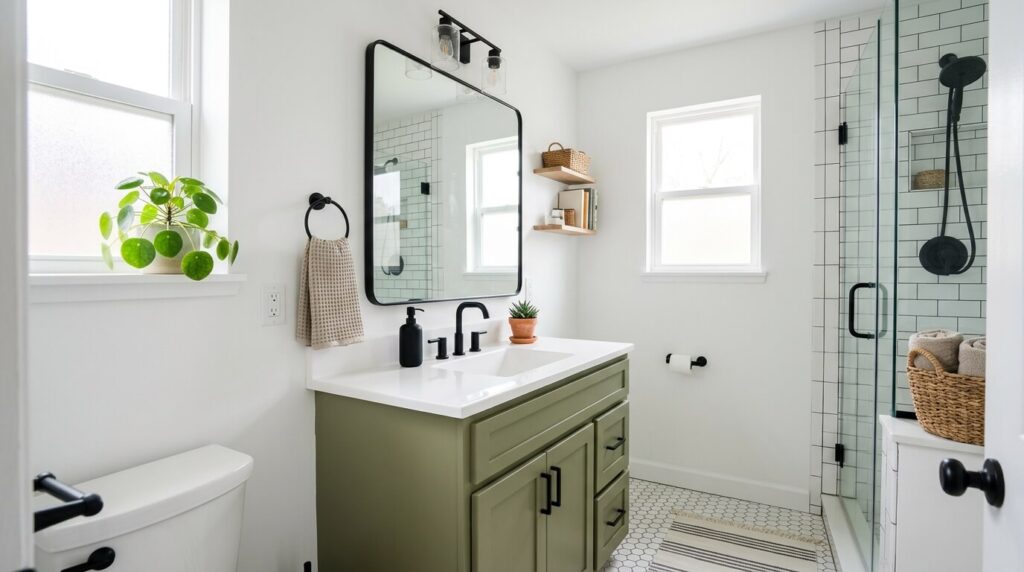
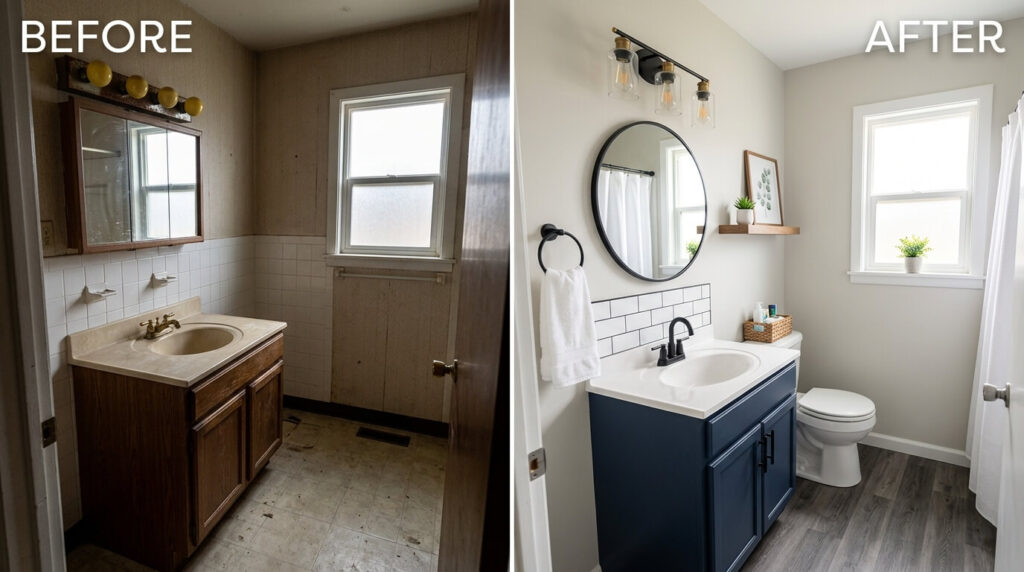
Paint remains the highest-ROI, lowest-cost update available. Use a moisture-resistant, mold-inhibiting paint-and-primer formula in light, neutral tones (soft white, pale gray, light blue) to make the room feel brighter and larger. For a bigger style swing, paint the vanity a bold or two-tone color rather than replacing it.
Pro tip: Remove hardware before painting cabinetry, scuff-sand the surface with a deglosser for adhesion, and allow extra drying time — bathroom humidity slows cure time significantly.
2. Update Hardware and Fixtures
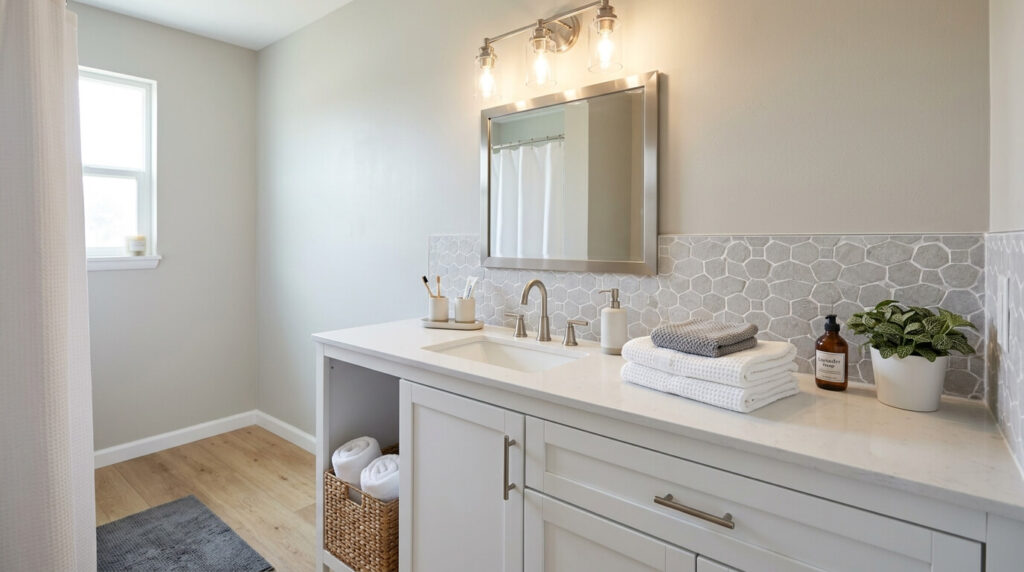
Swap drawer pulls, knobs, towel bars, and faucets for a cohesive modern finish like matte black, brushed nickel, or brushed gold. Measure existing screw-hole spacing before buying so new hardware drops in without redrilling. Buying a full set from one collection avoids finish mismatches between brands.
3. Upgrade Lighting
Replace a single harsh overhead fixture with layered lighting: vertical sconces beside the mirror for shadow-free task lighting, plus ambient ceiling light. Choose fixtures rated for “damp” or “wet” locations, and pick a warm white bulb (2700K–3000K) for flattering, spa-like light. Budget options include swapping just the shades or bulbs on an existing fixture.
4. Install Budget-Friendly Flooring
Luxury vinyl tile (LVT) and click-lock vinyl plank flooring mimic wood, stone, or ceramic at a fraction of the cost, are 100% waterproof, and many styles float directly over existing flooring — no demolition required. Let planks acclimate 48 hours before installing, and leave an expansion gap at the perimeter.
5. Add a Peel-and-Stick Tile Backsplash or Accent Wall
These self-adhesive tiles require no grout or mortar and can transform a vanity backsplash or accent wall in an afternoon. Clean the wall with a degreaser first, dry-lay your pattern before committing, and use a J-roller to ensure full adhesion.
6. Refresh the Tile You Already Have
Instead of full retiling, use a high-adhesion primer and tile/epoxy paint to update dated ceramic tile color. This works especially well on outdated floor or wall tile that’s structurally sound but visually stuck in another decade.
7. Give Your Vanity a Makeover
Repaint the cabinet, swap the countertop for an affordable laminate or butcher-block top, or remove the toe-kick and add legs for a “floating vanity” look that makes small bathrooms feel larger. If buying new, purchase a vanity with the sink and countertop included — buying these separately can add $1,000+ to the cost.
8. Replace or Reframe the Mirror
A statement mirror — round, backlit, or framed in inexpensive molding — instantly upgrades the vanity wall and bounces more light around the room. DIY mirror-framing kits cost far less than buying a new mirror outright.
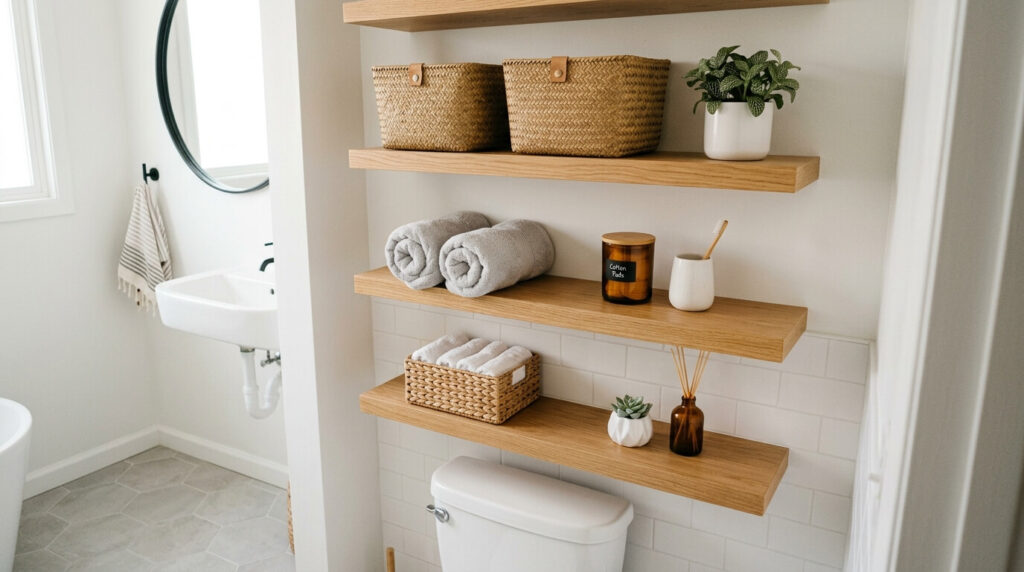
9. Add Smart, Affordable Storage
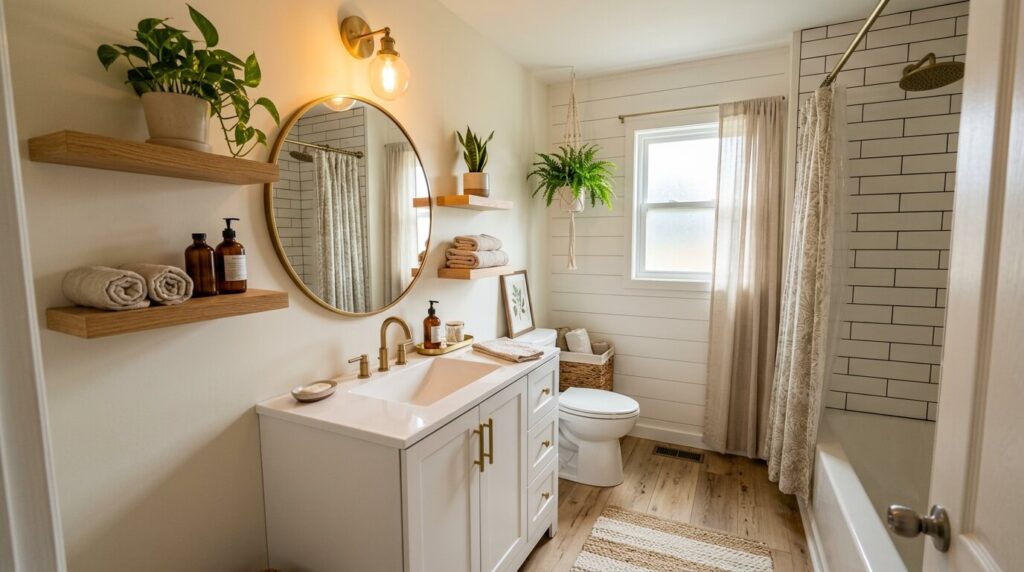
Floating shelves, ladder shelving, and repurposed crates or baskets add storage without custom cabinetry costs. Anchor anything heavy into wall studs, and choose humidity-resistant materials like bamboo, treated wood, or powder-coated metal.
10. Refresh the Tub or Shower Without Replacing It
A DIY refinishing/reglazing kit or a professional liner/insert can buy 5–10 years of new life from a dated tub for a fraction of full replacement cost. Tub-to-shower conversions and acrylic liners can be installed in as little as a day with no demolition mess.
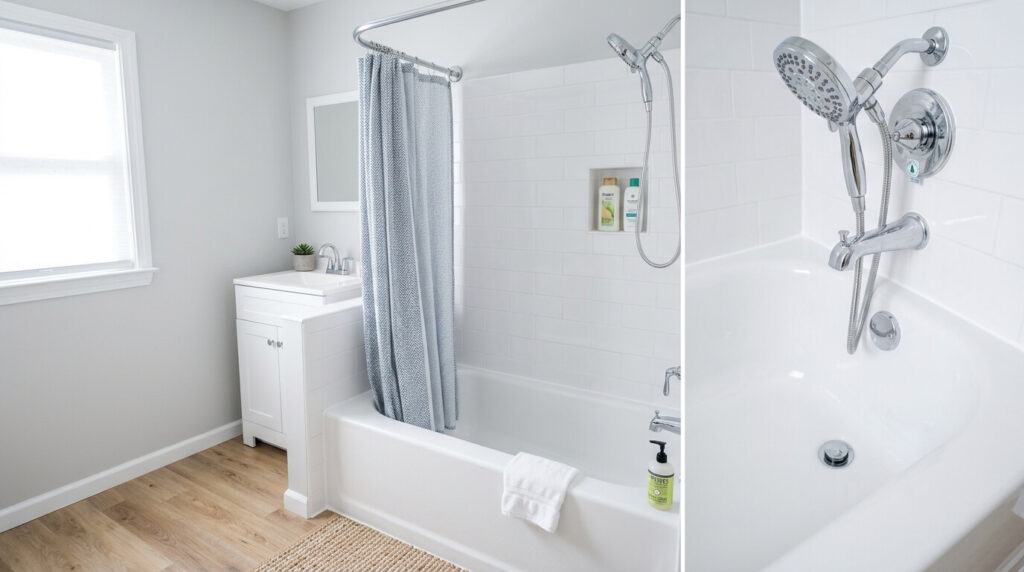
11. Re-Caulk and Re-Grout
Old, discolored, or cracking caulk is one of the most overlooked culprits behind a bathroom looking “worn.” Re-caulking with 100% silicone, mold-resistant caulk takes under an hour and instantly looks cleaner. A grout pen can refresh grout lines without a full regrout job.
12. Upgrade the Toilet
A new WaterSense-certified low-flow toilet costs $150–$500, can cut water use by up to 60% compared to older models, and is a straightforward swap if the rough-in dimensions match. This is also one of the better ROI swaps for buyers, since outdated toilets are an easy red flag during showings.
13. Upgrade or Add a Ventilation Fan
A properly sized exhaust fan controls moisture, prevents mold and mildew, and protects your other upgrades. If your bathroom currently lacks one or has an underpowered unit, this is a high-priority — if less glamorous — investment.
14. Add a Statement Shower Curtain (Skip the Glass Door Cost)
A bold, fabric (not vinyl) shower curtain can save roughly $800–$1,000 compared to frameless glass doors, while still making a strong design statement. You can always upgrade to glass doors later as a separate project.
15. Create a Feature Wall
Use wallpaper, a stencil, or a bold paint color on a single wall instead of the whole room. Removable wallpaper or decals deliver a similar visual punch at a fraction of the price and commitment of full wallpapering.
16. Bring in Plants and Greenery
Humidity-tolerant plants like pothos, ferns, or snake plants add life and softness to a bathroom for very little money. Budget planters from discount retailers or repurposed containers keep this nearly free.
17. Layer in Textiles, Art, and a Rug
New towels, a washable accent rug, and a small gallery wall of moisture-resistant framed art tie a room together without touching a single fixture. This is the cheapest category of upgrade on this entire list and one of the easiest to change again later.
18. Make Affordable Accessibility Upgrades
Grab bars near the tub/shower and toilet, a comfort-height toilet, and slip-resistant flooring or mats are inexpensive additions that improve safety for aging-in-place or multigenerational households — and they’re increasingly expected by buyers as a practical, not cosmetic, feature.
19. Choose Water- and Energy-Efficient Fixtures
Low-flow showerheads, faucet aerators, and LED lighting reduce ongoing utility costs and sometimes qualify for local utility rebates, effectively lowering your net renovation cost over time.
20. Update Window Treatments
A moisture-resistant faux-wood blind or a simple frosted privacy film on the window costs little but meaningfully changes the room’s finished look and improves both privacy and natural light control.
Choosing Cost-Effective Materials: A Comparison
| Material Category | Budget Option | Mid-Range Option | Best For |
|---|---|---|---|
| Flooring | Vinyl sheet/LVT | Porcelain tile | LVT: DIY install, 100% waterproof; tile: higher heat/scratch resistance |
| Countertop | Laminate | Quartz | Laminate: lowest cost, wide style range; quartz: durability, resale appeal |
| Wall tile | Peel-and-stick | Ceramic subway tile | Peel-and-stick: renter-friendly, no demo; subway tile: longer lifespan |
| Cabinetry | Painted existing vanity | Ready-to-assemble (RTA) vanity | Painting: lowest cost; RTA: new storage configuration at moderate cost |
| Tub/shower surface | Refinishing kit or liner | Acrylic insert system | Kit/liner: fastest, least disruptive; insert: longer-lasting finish |
| Tile pattern | Straight-edge, individual tiles | Mosaic/herringbone | Straight-edge tiles install faster and cheaper; intricate patterns cost more in labor |
Tip: Straight-edge individual tiles are consistently the cheapest to install because they require the fewest cuts. Intricate patterns like herringbone or mesh-backed mosaic sheets can add hundreds of dollars in labor even when the material itself is inexpensive.
Common Mistakes to Avoid in a Budget Bathroom Remodel
- Skipping the contingency fund and getting blindsided by hidden water damage or old wiring.
- Moving plumbing fixtures “just because,” when keeping the existing layout is the biggest cost-saver available.
- DIYing waterproofing-critical work like shower pans and tile membranes, where a mistake causes mold or leaks that cost far more to fix later.
- Buying mismatched finishes across hardware brands — “brushed nickel” varies noticeably between manufacturers.
- Underestimating ventilation and ending up with mold-prone humidity even after a full cosmetic refresh.
- Choosing trend-driven finishes for permanent, hard-to-change elements (tile, countertops) instead of saving trends for easily swapped items like accessories and paint.
- Forgetting to acclimate flooring materials before installation, leading to warping.
- Starting demo before materials arrive, leaving the bathroom unusable for longer than necessary.
- Ignoring code requirements for GFCI outlets near water sources or permit rules for electrical/plumbing work.
Bathroom Remodel Safety Considerations
- GFCI outlets are required near sinks and wet areas in most jurisdictions — confirm yours are up to code, especially in older homes.
- Proper shower waterproofing (membrane, correct slope to the drain) prevents hidden mold and structural damage — this is the top reason tiling a shower is best left to a professional.
- Slip resistance matters for both flooring and tub surfaces; look for textured or slip-rated finishes, especially for households with children or older adults.
- Ventilation prevents mold/mildew growth that can affect indoor air quality and undermine your new finishes.
- Turn off power at the breaker, not just the switch, before any DIY electrical work, and use a voltage tester to confirm before touching wires.
- Use mold-resistant materials (paint, caulk, grout) throughout, since bathrooms are the highest-humidity rooms in most homes.
Maintenance Tips to Protect Your Remodel
- Re-caulk every 1–2 years, or sooner if you notice discoloration, cracking, or gaps.
- Run the exhaust fan during and for 15–20 minutes after every shower to control humidity.
- Wipe down grout lines weekly with a mild cleaner to prevent staining and mildew buildup.
- Reseal natural stone surfaces annually if you used stone anywhere; laminate and quartz don’t require sealing.
- Check under-sink plumbing periodically for slow leaks, especially after any DIY faucet or fixture work.
- Touch up paint in high-contact areas (around the vanity, light switches) as needed to keep the refresh looking new.
Is a Bathroom Remodel Worth It? Understanding ROI
Bathroom remodels are consistently among the higher-ROI home improvement projects, particularly when updates are kept cosmetic and proportional to the rest of the home. Industry cost-vs-value research generally shows minor/cosmetic bathroom remodels recovering a meaningfully higher percentage of their cost at resale than large, high-end gut renovations — because buyers respond strongly to a clean, modern, move-in-ready bathroom without necessarily rewarding luxury finishes dollar-for-dollar. Beyond resale value, the day-to-day value of a more functional, pleasant bathroom is immediate and ongoing, regardless of whether you plan to sell.
Financing and Saving Strategies
- Save on financing entirely by phasing the project — tackle paint and hardware now, flooring next season, vanity after that.
- Check for utility rebates on low-flow toilets, faucets, and LED lighting in your area.
- Buy display models, floor samples, and overstock from big-box stores and local liquidators for vanities, tile, and fixtures.
- Time purchases around sales (Black Friday, end-of-season clearance) for big-ticket items like vanities and lighting.
- Consider a 0% promotional financing card for material purchases only if you’re confident you can pay it off before the promotional period ends.
- Get itemized quotes from contractors so you can choose to DIY specific line items and hire out only the specialized work.
Industry Standards and Code Considerations
- Most U.S. jurisdictions require GFCI protection for outlets within 6 feet of a water source.
- Comfort-height toilets (around 17–19 inches) are now the common standard, versus older 15-inch “standard height” models.
- Vanity height has trended up from roughly 30 inches in older homes to 34–36 inches today — worth considering if you’re replacing a dated vanity.
- Permits are typically required for moving plumbing, adding new electrical circuits, or structural changes — but usually not for cosmetic work like paint, hardware, flooring over an existing subfloor, or fixture swaps using existing connections. Requirements vary by city and county, so check with your local building department before starting.
- WaterSense certification (EPA) on toilets and faucets indicates verified water-efficiency standards and can factor into rebate eligibility.
Frequently Asked Questions
What is the cheapest way to remodel a bathroom?
Focus on paint, hardware, lighting, and accessories first — these deliver the highest visual impact per dollar. A full cosmetic refresh can often be done for $500–$1,500 using mostly DIY labor.
Can I remodel a bathroom for under $1,000?
Yes, if you stick to paint, new hardware, a re-caulk, a mirror swap, and accessories. Skip flooring and fixture replacement, which push costs higher.
Is it cheaper to DIY a bathroom remodel?
DIY saves the most on labor for cosmetic tasks like painting, hardware swaps, and flooring installation. It is not necessarily cheaper for plumbing, electrical, or shower waterproofing, where mistakes can be costly to fix.
How long does a budget bathroom remodel take?
A cosmetic refresh can be completed in a weekend. A budget full remodel involving a new vanity, flooring, and tub/shower update typically takes one to three weeks, partly due to material lead times.
What should I prioritize first in a budget bathroom remodel?
Address functional issues first — ventilation, plumbing leaks, and safety concerns — then move to high-impact cosmetic updates like paint, lighting, and hardware.
Do I need a permit to remodel my bathroom?
Cosmetic updates (paint, flooring over existing subfloor, fixture swaps with existing connections) usually don’t require permits. Moving plumbing, adding electrical circuits, or structural changes typically do. Check with your local building department.
What’s the most cost-effective bathroom flooring?
Luxury vinyl tile (LVT) and vinyl plank flooring offer the best balance of low cost, water resistance, and DIY-friendly installation.
Should I replace my bathtub or just refinish it?
If the tub is structurally sound but cosmetically dated, a refinishing kit or liner/insert is far cheaper than full replacement and can add 5–10 years of usable life.
How can I update my bathroom without removing tile?
Use a tile-rated primer and epoxy paint to change the color of existing tile, refresh the grout lines with a grout pen, and add a peel-and-stick accent over a portion of the wall.
What bathroom updates add the most resale value for the least cost?
A new toilet, updated lighting, fresh paint, new hardware, and re-caulking consistently rank among the highest-ROI, lowest-cost updates for resale.
Can I install vinyl flooring over my existing bathroom tile?
In many cases yes, as long as the existing floor is flat, stable, and level — click-lock LVT in particular is designed to float over sound existing flooring.
What’s the best paint for a bathroom?
Use a moisture-resistant, mold-inhibiting paint-and-primer formula specifically labeled for bathrooms or high-humidity rooms, in a satin or semi-gloss finish for easier cleaning.
How do I keep my new bathroom remodel from looking dated quickly?
Choose classic, neutral finishes (brushed nickel, matte black, warm white) for permanent elements like tile and countertops, and reserve trend-driven colors or patterns for easily-swapped items like towels, art, and accessories.
Is a tub-to-shower conversion considered an affordable upgrade?
Yes — when done with a liner or insert system rather than a full tile rebuild, a tub-to-shower conversion can be completed in about a day without demolition, and it’s a popular upgrade for aging-in-place accessibility.
What’s a realistic contingency fund for a budget bathroom remodel?
Plan for 10–15% of your total budget as a contingency for hidden issues like water damage, mold, or outdated wiring discovered during the project.